Top 10 Essential Tools for Your DIY Home Repair Kit
DIY Home Repairs: Save Money by Fixing It Yourself
Embarking on the journey of DIY home repairs can be a rewarding endeavor, not only for the sense of accomplishment it brings but also for the substantial savings on professional fees. However, to tackle these tasks effectively, one must be equipped with the right tools. A well-stocked DIY home repair kit is the cornerstone of any successful home maintenance project, ensuring that you are prepared to handle common issues that arise. Here, we explore the top 10 essential tools that should be a part of your arsenal.
First and foremost, a reliable hammer is indispensable. It serves multiple purposes, from driving nails into walls for hanging pictures to removing old nails during renovations. A claw hammer, with its dual functionality of hammering and prying, is particularly versatile. Next, a set of screwdrivers, both flathead and Phillips, in various sizes, is crucial. These tools are invaluable for assembling furniture, tightening cabinet hardware, and opening up household appliances for repairs.
Equally important is a tape measure, which is fundamental for precision in any project. Whether you’re cutting wood for a new shelf or determining if a new piece of furniture will fit in a space, accurate measurements are key to avoiding mistakes. Alongside the tape measure, a level ensures that your installations are perfectly horizontal or vertical, which is essential for the aesthetic and functional integrity of your work.
Another vital component is a utility knife. With its replaceable blades, it’s perfect for cutting through cardboard, carpet, drywall, and even vinyl flooring. Its precision and ease of use make it a go-to for many cutting tasks around the home. Additionally, a set of pliers, including needle-nose and adjustable pliers, is necessary for gripping, bending, and cutting wire, as well as for plumbing tasks that require tightening and loosening pipes.
For any project involving wood, a power drill is a game-changer. It not only drills holes efficiently but, with the right attachments, can also serve as a powerful screwdriver. A set of drill bits in various sizes complements the power drill, allowing you to tackle a wide range of materials and tasks. Furthermore, a handsaw is a must-have for cutting wood, plastic, or metal. A compact model is often sufficient for the typical home repair needs and is easier to handle and store.
Wrenches, including an adjustable wrench and a set of Allen wrenches, are essential for dealing with nuts and bolts. The adjustable wrench adapts to various sizes, while Allen wrenches are necessary for assembling flat-pack furniture and for bicycle repairs. Lastly, a sturdy pair of work gloves protects your hands from splinters, sharp edges, and other hazards. They not only offer safety but also provide a better grip on tools.
In conclusion, having these top 10 essential tools in your DIY home repair kit can empower you to tackle a wide array of home maintenance tasks with confidence. By investing in quality tools and learning how to use them properly, you can save money and enjoy the satisfaction of maintaining and improving your home on your own. Remember, the key to successful DIY home repairs lies not just in having the right tools, but also in the patience and diligence to use them effectively. With these tools at your disposal, you are well on your way to becoming a proficient DIY home repair enthusiast.
Step-by-Step Guide to Common Home Repairs You Can Do Yourself
DIY Home Repairs: Save Money by Fixing It Yourself
In the current economic climate, homeowners are increasingly looking for ways to save money. One effective method is to tackle home repairs without the assistance of professionals. Not only does this approach offer financial savings, but it also provides a sense of accomplishment and the opportunity to learn new skills. This article will guide you through some common home repairs that you can confidently address yourself.
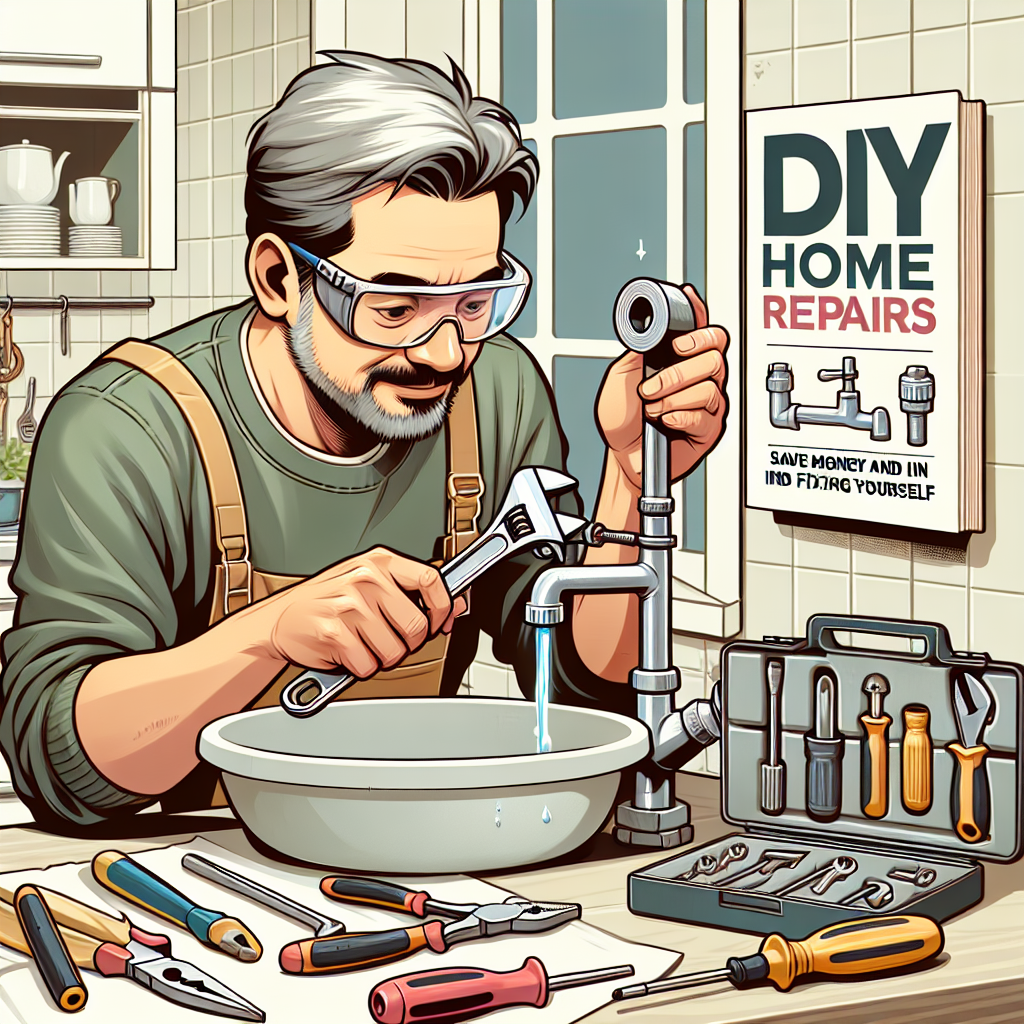
Firstly, let’s consider the ubiquitous issue of a leaky faucet. This common annoyance is not only a waste of water but can also lead to higher utility bills. To fix a leaky faucet, begin by shutting off the water supply to the affected fixture. Next, remove the faucet handle and replace the worn-out washer or O-ring, which is often the culprit behind the leak. Reassemble the faucet and turn the water back on to test your work. With patience and basic tools, this repair can be completed in under an hour, sparing you the cost of a plumber.
Transitioning to another frequent household problem, running toilets can be both irritating and wasteful. Fortunately, this is another repair that is well within the capabilities of most homeowners. Start by inspecting the toilet’s tank. Often, the issue is with the flapper or the fill valve. If the flapper is not sealing properly, water will continue to flow from the tank into the bowl. Replacing the flapper is a simple process that involves unhooking the old one and attaching a new one in its place. If the fill valve is malfunctioning, an adjustable replacement can be installed with minimal effort. By addressing these components, you can resolve the running toilet issue and conserve water.
Moving on to the realm of electricity, replacing a light switch is a task that, while involving caution, can be done by a homeowner. Before attempting this repair, ensure that the power to the switch is turned off at the circuit breaker. Remove the faceplate and unscrew the switch from the electrical box. Carefully detach the wires from the old switch and connect them to the new one, making sure to match the wire placement exactly. Secure the new switch, replace the faceplate, and restore power to test the switch. This straightforward task can prevent the need for an electrician’s visit.
Lastly, addressing drywall damage is another repair that can be managed without professional help. Small holes can be filled with spackling paste, smoothed out, and sanded once dry. For larger holes, a patch kit can be used. These kits typically include a self-adhesive patch that covers the hole, which can then be covered with joint compound, sanded smooth, and painted to match the surrounding wall. This repair not only improves the appearance of your home but also prevents further damage.
In conclusion, by taking on these common home repairs, you can save a considerable amount of money and gain valuable skills. It’s important to approach each task with caution and to ensure you have the necessary tools and materials before beginning. Remember to always prioritize safety, especially when dealing with plumbing and electrical systems. With a bit of research and effort, you can successfully complete these repairs and maintain your home without the added expense of hiring professionals. DIY home repairs are not only a cost-effective solution but also a rewarding way to invest in your living space.
How to Tackle Plumbing Basics: DIY Fixes for Leaky Faucets and Clogged Drains
DIY Home Repairs: Save Money by Fixing It Yourself
In the realm of home maintenance, plumbing issues are among the most common and frustrating problems that homeowners face. However, with a bit of knowledge and the right tools, many of these issues can be resolved without the need to call in a professional. By tackling plumbing basics such as leaky faucets and clogged drains yourself, you can save a significant amount of money while also gaining a sense of accomplishment.
Leaky faucets are not only annoying, but they can also lead to higher water bills and potential water damage. Fortunately, fixing a dripping faucet is often straightforward. The first step is to identify the type of faucet you have, as this will determine the repair process. Compression faucets, for example, typically require replacing the washer or O-ring, while cartridge, ceramic disk, or ball faucets may need new seals or a replacement cartridge.
Once you’ve determined the type of faucet, shut off the water supply to prevent any accidental flooding. This is usually done by turning the valves under the sink clockwise. Next, disassemble the faucet, keeping careful track of the order and orientation of the parts. Inspect each component for signs of wear or damage. Replacing worn-out washers or O-rings is often enough to stop a leak. If the faucet has a cartridge, you may need to replace it entirely. After replacing the necessary parts, reassemble the faucet and turn the water back on to test for leaks.
Transitioning from leaky faucets to clogged drains, it’s important to note that clogs can occur in any drain from the kitchen to the bathroom. A clogged drain can be a nuisance, but it’s usually possible to clear it without professional help. Start by using a plunger. If plunging doesn’t work, you might need to use a plumber’s snake or auger to dislodge the blockage. Insert the snake into the drain and turn it to break up the clog. For kitchen sinks, be mindful of grease buildup, which can often be dissolved with a solution of hot water and dish soap.
If the clog is stubborn, you might consider a chemical drain cleaner, but use these products cautiously as they can be harsh on your pipes and the environment. A safer alternative is a mixture of baking soda and vinegar, followed by hot water, which can help to dissolve organic matter without the harsh effects of chemicals.
It’s also essential to perform regular maintenance to prevent future clogs and leaks. Avoid pouring grease down the kitchen sink, use drain strainers to catch hair and other debris, and periodically check under sinks for signs of moisture that could indicate a slow leak.
In conclusion, by mastering these basic DIY plumbing repairs, you can save money and extend the life of your plumbing fixtures. Remember to approach each task with patience and to consult manufacturer’s guides or online tutorials for specific instructions related to your fixtures. With the right approach, you can confidently fix leaky faucets and clogged drains, ensuring that your home’s plumbing system remains in good working order.










+ There are no comments
Add yours